Welcome & First Login
Welcome to your new online store. iVendNext eCommerce is the software that turns your product catalog into a live, branded storefront your customers can browse and buy from. This guide walks you — the shop owner — from an empty store all the way to opening for business, one section at a time. No coding required.
This first section gets you oriented: what the two halves of your store are, how to log in, and — most importantly — how to find any settings screen, because this app deliberately keeps navigation simple.
Before you start
Nothing needs to be done first — this is where everyone begins. You only need:
- The web address of your store's admin area (in this guide it is
http://ivend-docs.localhost:8000; yours will be your own domain). - Your login email and password, given to you by whoever set up the store.
One-time technical setup — ask your administrator. Everything in this guide assumes the app itself is already installed on your site and that you have a login. Installing iVendNext eCommerce, creating your user account, and giving it the right permissions are all one-time technical jobs. If you do not yet have a working login, ask your administrator (or the person who installed the software) to set one up for you before continuing.
The two halves of your store
Your store has two separate web areas, and knowing which one you are in at any moment saves a lot of confusion:
- The admin area — "Desk" (web address ends in
/app). This is your private control room. You log in here to set up branding, add products, configure payments, read orders, and change every setting. Customers never see this. - The storefront (web address ends in
/en). This is the public shop your customers actually visit and buy from. It reflects everything you configure in the admin area.
flowchart LR
    You([You, the shop owner]) -->|log in at /login| Desk
    subgraph Admin["Admin area — Desk  (/app)  · private"]
        Desk[Desk home] -->|search bar| Settings[Settings & product screens]
    end
    Settings -->|your changes appear on| Store
    subgraph Public["Storefront  (/en)  · public"]
        Store[Your live shop]
    end
    Customer([Your customers]) -->|browse & buy| Store
The rest of this guide spends most of its time in the admin area, because that is where you build the store. You will pop over to the storefront now and then to see the result of your work.
Step 1 — Log in to the admin area
- Open your web browser and go to your store's login page — add
/loginto your store address (for examplehttp://ivend-docs.localhost:8000/login). - You will see the Welcome Back screen.
- Type your email and password into the two boxes.
- Click the blue Login button.
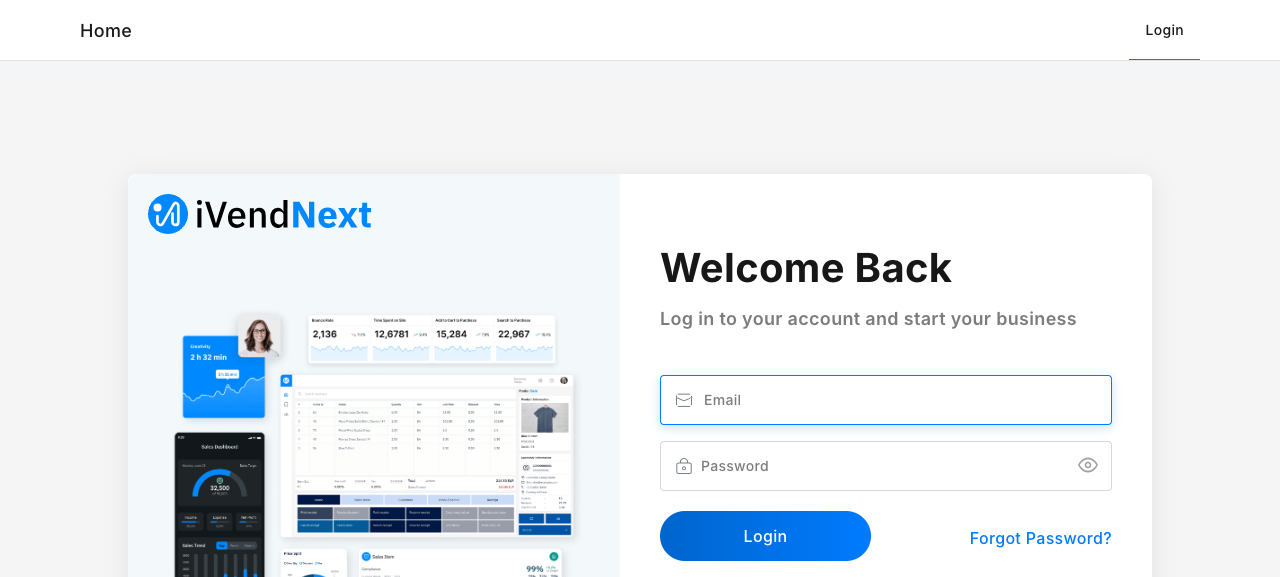
How you know it worked: the page changes to the admin area and you land on the Home screen (covered in the next step). If you instead see a red error, double-check your email and password, or ask your administrator to reset them.
Step 2 — Get your bearings on the Desk home
After logging in you arrive at Home — the front page of the admin area. A few things to notice:
- The search bar across the top (labelled Search or type a command). This is the single most important control in the whole admin area — more on it in Step 3.
- The left sidebar with sections like Accounting, Buying, Selling, Stock. These are the built-in business modules; you will rarely need them as a shop owner.
- A "Let's begin your journey" welcome card. You can read it or click Dismiss — it is optional and not part of this guide.
- Your name and avatar in the top-right corner (here, Administrator).
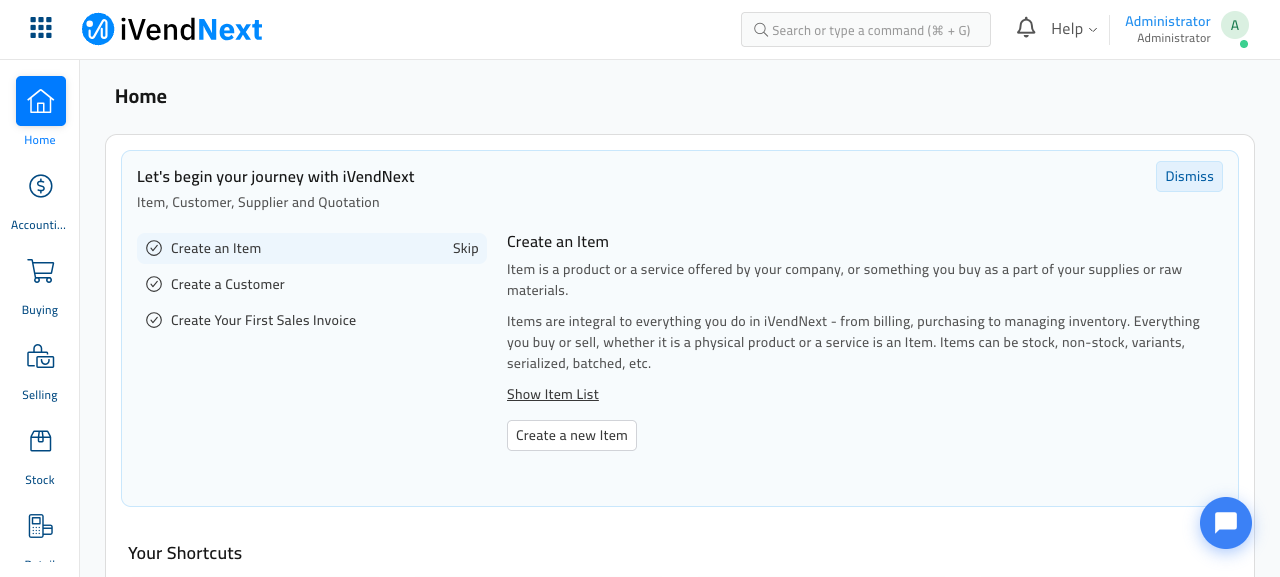
How you know you are in the right place: the web address in your browser bar
ends in /app, and you can see your name in the top-right corner.
There is no menu for the store's settings. Unlike some systems, iVendNext eCommerce does not put its settings behind a big menu or a dedicated dashboard. Every settings screen is reached by searching for it by name — which is exactly what the next step teaches. This is by design; once you know the search bar, you can jump anywhere instantly.
Step 3 — Learn the search bar (how you reach every settings screen)
Because there is no settings menu, the search bar at the top is how you open every screen in this guide. Get comfortable with it now and the rest of the setup is easy.
- Click the search bar at the top of the screen — or, from anywhere, press
Ctrl + G(on Windows) orCmd + G(on Mac) to jump straight to it. - Start typing the name of the screen you want. Try
Lifestyle Settings— this is your store's main control panel, and you will use it constantly. - As you type, a drop-down list of matches appears. Click the top result named Lifestyle Settings (or highlight it and press Enter).
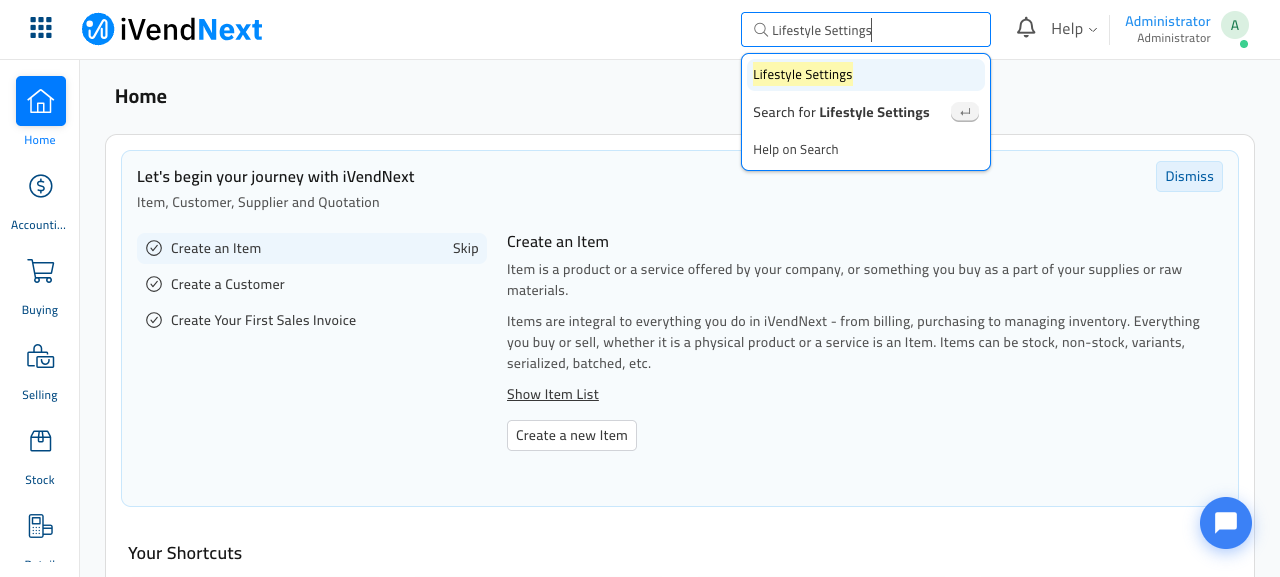
How you know it worked: the Lifestyle Settings control panel opens. (You do not need to change anything there yet — Section 03 covers it in full. For now you have just proved you can find any screen.)
Throughout this guide, whenever a step says "open the ___ screen", this is what you do: click the search bar, type the name, and pick it from the list.
flowchart LR
    Bar["Search bar<br/>(Ctrl/Cmd + G)"] --> T[Type a screen name]
    T --> A[Lifestyle Settings]
    T --> B[Company]
    T --> C[Item]
    T --> D[iVend Theme]
    T --> E[…any settings screen]
Step 4 — Find your account menu (and how to log out)
In the top-right corner, click your name/avatar to open your personal menu. From here you can open My Settings, and — importantly — Log out when you finish a session.
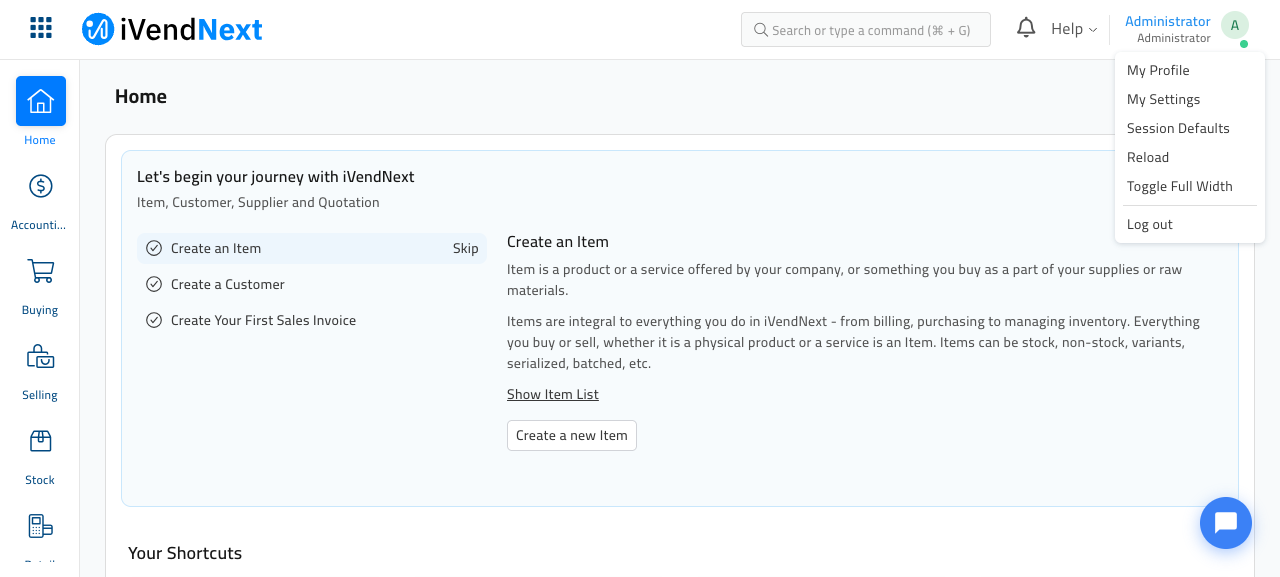
Tip: always Log out when you are done, especially on a shared or public computer, so no one else can change your store.
Step 5 — Take a look at your storefront
Finally, see the customer's side. Open a new browser tab and go to your store
address followed by /en (for example
http://ivend-docs.localhost:8000/en).
This is exactly what your shoppers see. On the demo store it already shows a styled fashion homepage, because the demo has been pre-filled — your store may look plainer until you complete the sections ahead.
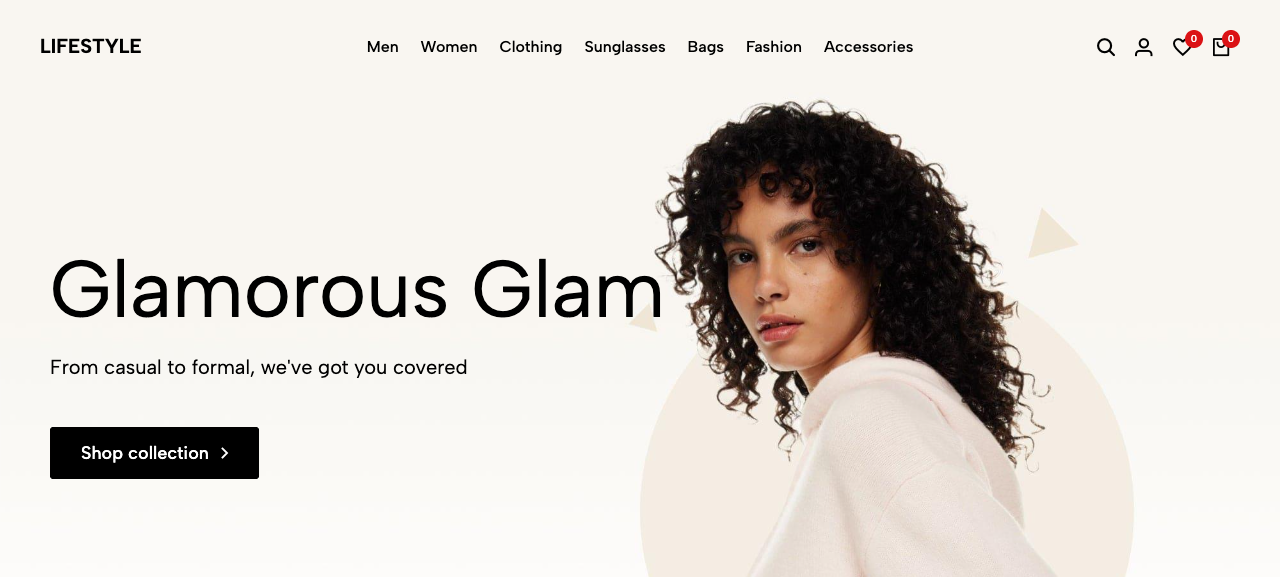
How you know you are on the storefront (not the admin area): the web address
ends in /en, there is no search bar or sidebar, and it looks like a shop —
with a navigation menu, a shopping-bag icon, and product imagery.
Keep both tabs handy as you work: one on the admin area (
/app) where you make changes, and one on the storefront (/en) where you refresh the page to see those changes go live.
What you have accomplished
- You understand the difference between your private admin area (
/app) and your public storefront (/en). - You can log in and log out of the admin area.
- You know that there is no settings menu — every screen is reached through
the search bar (
Ctrl/Cmd + G), and you have used it to open Lifestyle Settings.
That last skill is the key to everything else. From here on, "open the ___ screen" always means "search for it."
Next: Section 02 — Store Foundations (Company, Currency & Country), where you confirm the currency and company your prices are based on.