The Customer Account Experience
This section is different from the others. So far you've been setting things up in the admin. Here you step into your shopper's shoes and see the self-serve account area they get once they sign up — their dashboard, saved addresses, wishlist, order history and account details.
There is almost nothing to configure here: the account area is built into your storefront and appears automatically as soon as the store is live. The goal of this section is simply for you to know what your customers see, so you can answer their questions and check it looks right on your own theme.
Everything you see below is rendered through your active theme (this guide uses home_fashion_01, the Ecomus look), so it always matches the rest of your storefront.
Before you start (prerequisites)
- 04 · Choose & Activate Your Storefront Theme — the account pages are drawn by your active theme. If no theme is active, they won't look right.
- 08 · Add Your First Products — you need real products live so a shopper can add them to a wishlist and place an order.
- A shopper account to test with. You can create one yourself from the storefront in a minute — see Step 1 below.
These pages require login. The whole account area (every address starting with
/en/account/…) is protected. If you open one of these links while signed out, the store sends you to sign in first. That's expected — only the logged-in shopper can see their own dashboard, orders and addresses.
The shopper's account area at a glance
Once a shopper is signed in, a My Account page appears with a menu down the left side. Every item in that menu is one of the pages in this section.
flowchart TD
    L[Shopper signs in<br/>via the storefront] --> ACC[My Account]
    ACC --> D[Dashboard<br/>welcome + quick links]
    ACC --> O[Orders<br/>past order history]
    ACC --> DIS[Discounts<br/>shows only if you<br/>run coupons/discounts]
    ACC --> A[Address<br/>billing & shipping]
    ACC --> P[Account Details<br/>name, email, password]
    ACC --> W[Wishlist<br/>saved products]
    ACC --> OUT[Logout]
About the "Discounts" menu item: it appears in the shopper's menu only when your store actually has discounts running. On a store with no active coupons or customer discounts it's hidden — that's why you may not see it in the screenshots below. You set discounts up in 13 · Discounts, Coupons & Promotions.
Step 1 · Create a test shopper account
Your customers don't sign up in the admin — they register on the storefront itself. Do this once so you have an account to explore with.
-
Open your storefront home page (
/en) in your browser while signed out (a private/incognito window is easiest). -
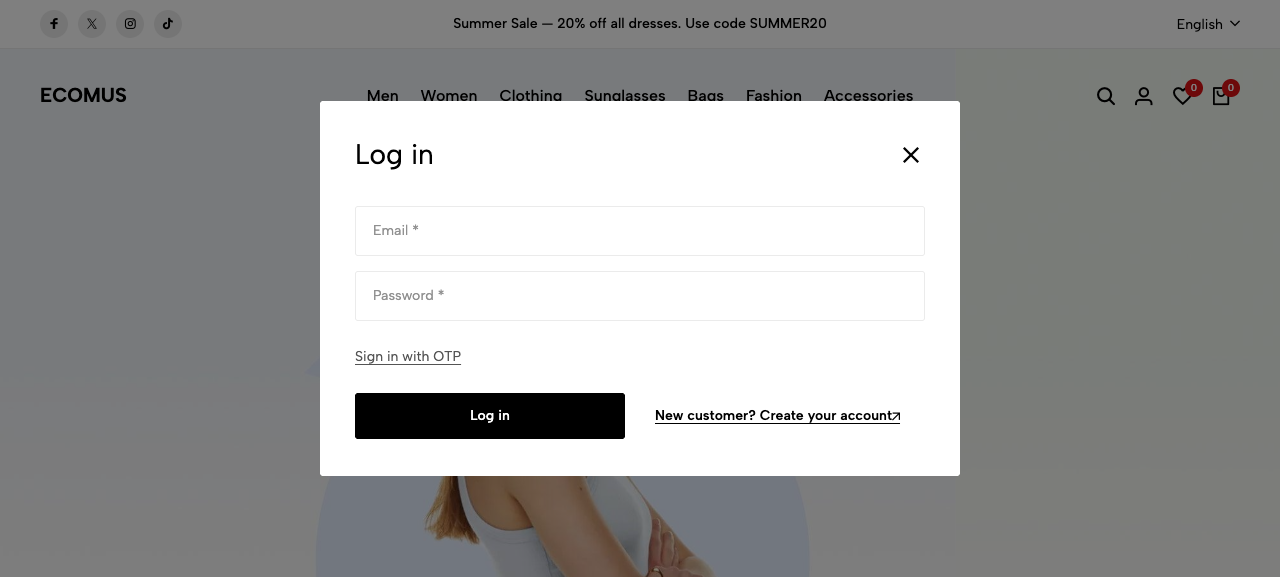
Click the person icon in the top-right of the header. A Log in window opens.
-
To make a new account, click New customer? Create your account, then fill in first name, last name, email and a password and register. Shoppers confirm their email with a one-time code (OTP) sent to their inbox.
-
To sign in to an existing account, just enter the email and password and click Log in. Shoppers can also choose Sign in with OTP to receive a code by email instead of typing a password.
How you know it worked: after signing in, the person icon in the header now opens a small menu with My Orders and My Account instead of the login window.
This is a self-service flow — you don't create shopper accounts by hand. Customers register themselves from this window. (Behind the scenes each one becomes a customer record in ERPNext, but that happens automatically; you don't need to do anything.)
Step 2 · The Dashboard
Open /en/account/dashboard (or click Dashboard in the account menu). This is the shopper's landing page after signing in. It greets them by name and links to their orders, addresses and account details.
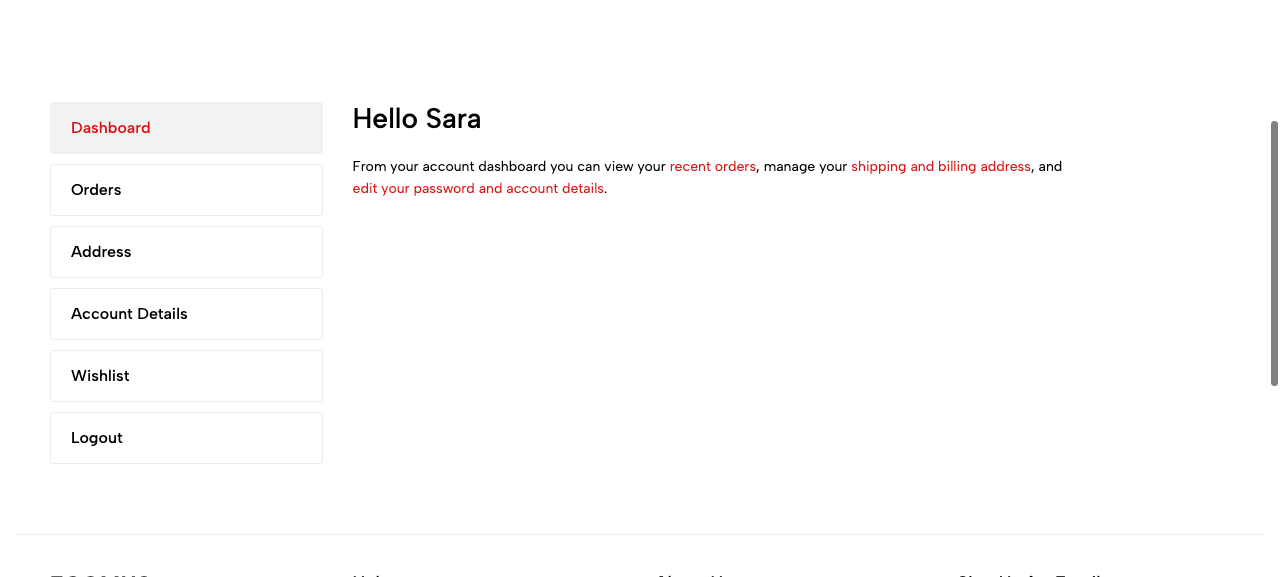
What to check: the greeting shows the shopper's name, the left-hand menu is styled like the rest of your store, and the links work. If this page looks unstyled or plain, your theme isn't active — go back to 04 · Choose & Activate Your Storefront Theme.
Step 3 · Orders (order history)
Open /en/account/orders. This is where a shopper reviews the orders they've placed. A brand-new shopper who hasn't bought anything yet sees a friendly empty state with a Continue Shopping button.
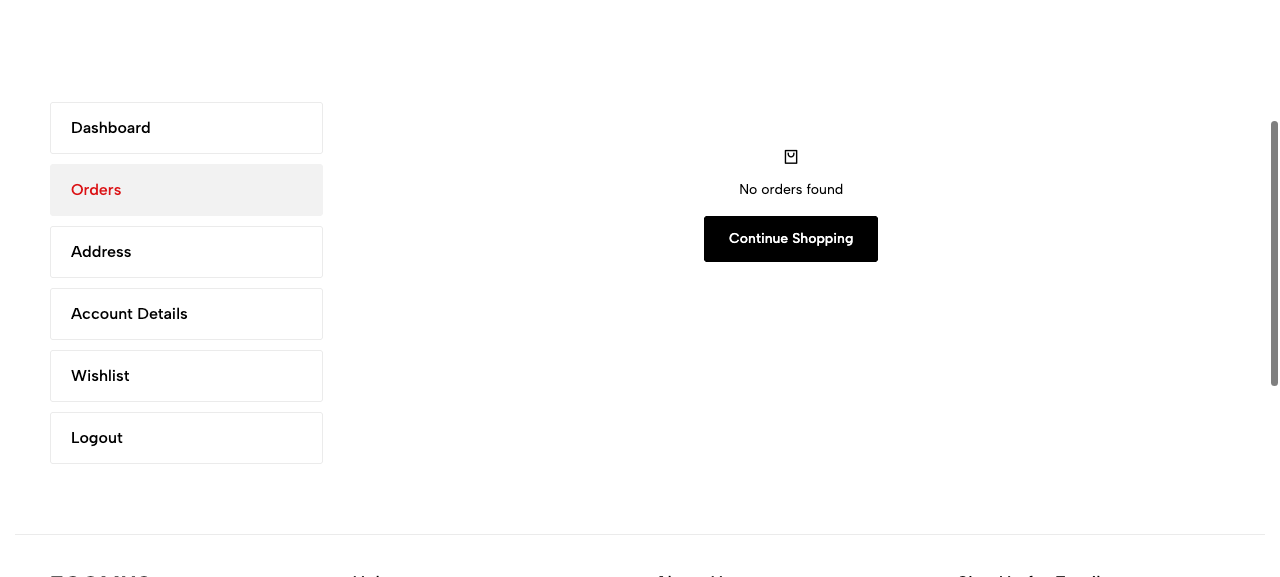
Once the shopper has placed orders, each one appears here with its status, and they can open an order to see its full detail and track it.
What to check: a fresh account correctly shows "No orders found". After a test purchase, the order should show up in this list.
You manage the other side of these orders in the admin. Reading incoming orders, fulfilling them, and handling returns is covered in 16 · Orders, Fulfillment & Returns.
Step 4 · Address book
Open /en/account/address. Shoppers save their billing and shipping addresses here so checkout is faster next time. They can add, edit and delete addresses themselves.
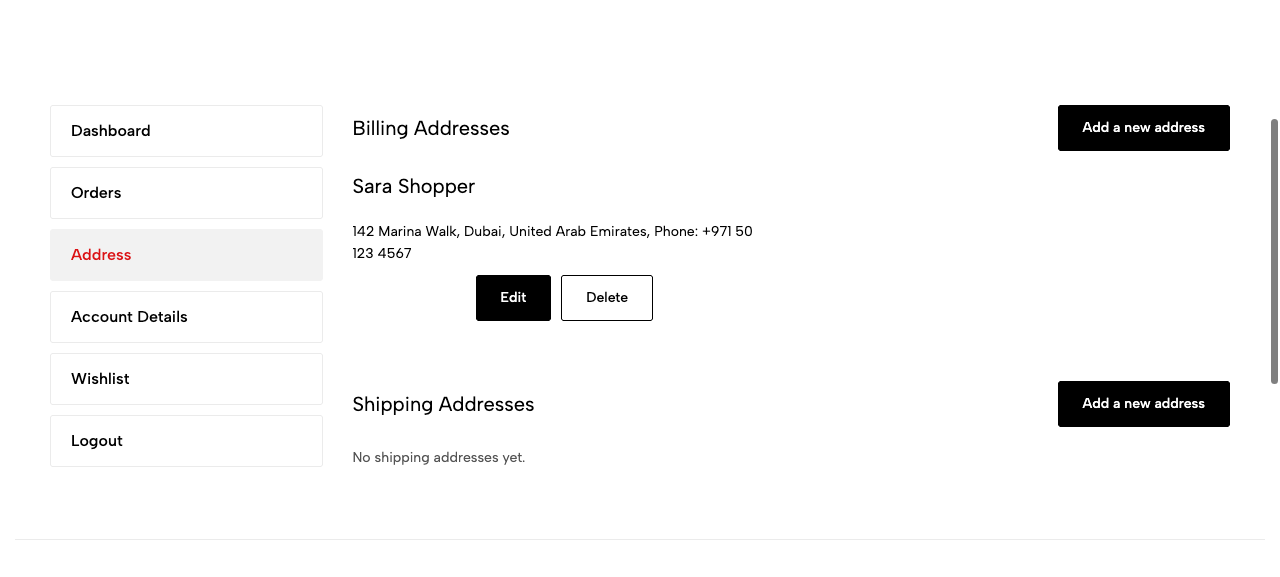
What to check: clicking Add a new address opens a form; a saved address appears as a card with Edit and Delete buttons. Billing and shipping are listed separately.
These are the same addresses used at checkout. An address a shopper saves here is available to pick on the checkout page, and an address they enter at checkout shows up here — it's one shared address book.
Step 5 · Account Details (profile & password)
Open /en/account/profile. This is where a shopper updates their name and phone number, and changes their password.
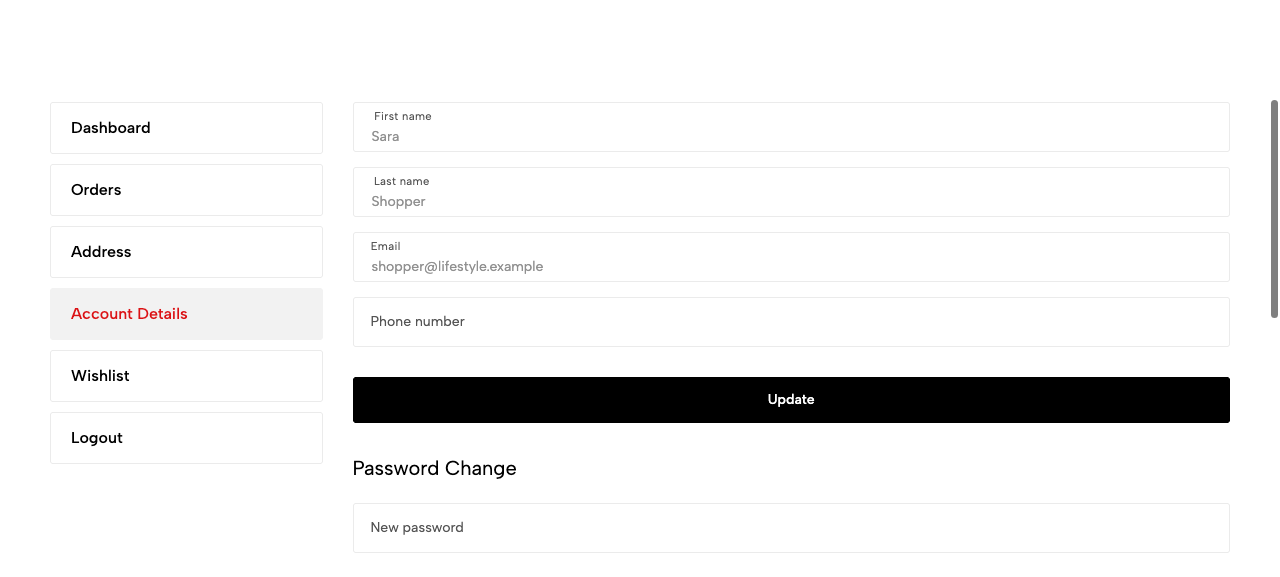
What to check: the fields are pre-filled with the shopper's current details, Update saves changes to name/phone, and the Password Change section lets them set a new password.
The email address is shown but is the shopper's login identity — treat it as fixed. Name, phone and password are the fields a shopper edits day-to-day.
Step 6 · Wishlist
Open /en/account/wishlist. Shoppers save products they're interested in by clicking the heart icon on any product, then find them all gathered here.
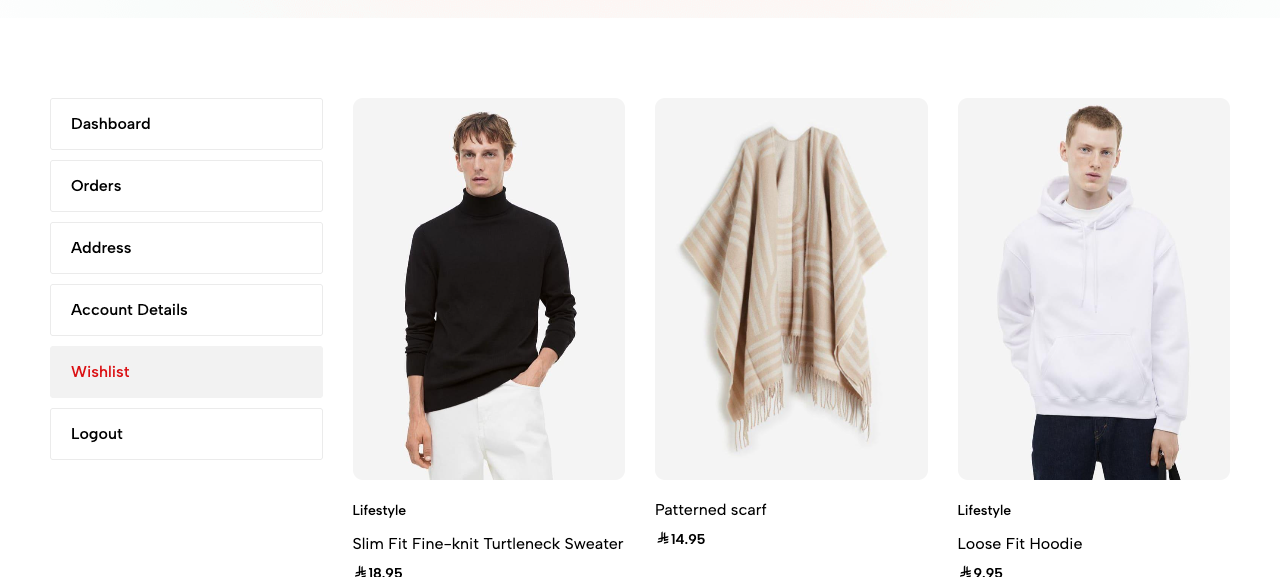
What to check: add a product to the wishlist from your storefront (click the heart on a product), then open this page — the product should appear here with its image and price. An empty wishlist shows a heart icon and a Continue Shopping button.
The wishlist follows the browser, not just the login. It's saved in the shopper's browser, so it works even before they sign in and carries their saved items into their account when they do. Nothing for you to configure — it just works once products are live.
Quick checklist
Sign in as your test shopper and confirm each account page looks right on your theme:
- The person icon in the header opens the sign-in window, and registering a new account works.
- Dashboard greets the shopper by name and is styled like the rest of the store.
- Orders shows "No orders found" on a fresh account (and lists real orders after a test purchase).
- Address lets the shopper add, edit and delete billing and shipping addresses.
- Account Details shows the shopper's name/phone/email and offers a password change.
- Wishlist collects products saved with the heart icon.
With the buyer's self-serve area understood, move on to the seller's side of orders in 16 · Orders, Fulfillment & Returns, then run your final launch checks in 17 · Preview & Go Live.