Orders, Fulfillment & Returns
This is the section where you start running your store day-to-day. Up to now you've been building the shop — products, payments, shipping, theme. Here you learn where a customer's order lands, how to move it through to delivery, how to set up your returns policy and return reasons, and how shoppers get an email when a sold-out product comes back in stock.
Nothing here is a one-time toggle you flip and forget — it's the routine you'll repeat for every order. The good news: an order carries all its own information, so most of your work is reading it and nudging its status forward.
Before you start (prerequisites)
- 11 · Set Up Payments — a customer can't place an order until at least one payment method is live at checkout.
- 12 · Shipping, Taxes & Pricing — orders need correct shipping and tax lines, and returns reuse your shipping settings.
- Helpful context: 15 · The Customer Account Experience — the customer's side of orders (their order history and tracking) lives in their account area.
Where "orders" actually live. When a shopper checks out, the store creates a Sales Order — a standard ERPNext document. Everything in this section is either reading those Sales Orders or setting the rules (returns, restock alerts) that apply to them. You reach every screen below through the search bar at the top of the admin (press Ctrl/Cmd + G and type the name).
How an order flows through your store
flowchart LR
A[Shopper checks out<br/>on the storefront] --> B[Store creates a<br/>Sales Order]
B --> C[You read the order<br/>in the admin]
C --> D[You fulfill the order<br/>(Delivery Note, Shipment)]
D --> E[Shipped]
E --> F[Delivered]
F -. customer requests .-> G[Return]
You don't create orders by hand — shoppers create them by checking out. Your job starts at step 3: reading the order and walking it through to Delivered (and handling a Return if the customer asks for one).
Step 1 · Find your incoming orders
- In the admin, open the search bar (Ctrl/Cmd + G), type Sales Order, and open it. This is the list of every order your store has taken.
- Each row is one order. You can see the customer name, the order's status, the delivery date, and the order ID (for example
SAL-ORD-2026-00003).
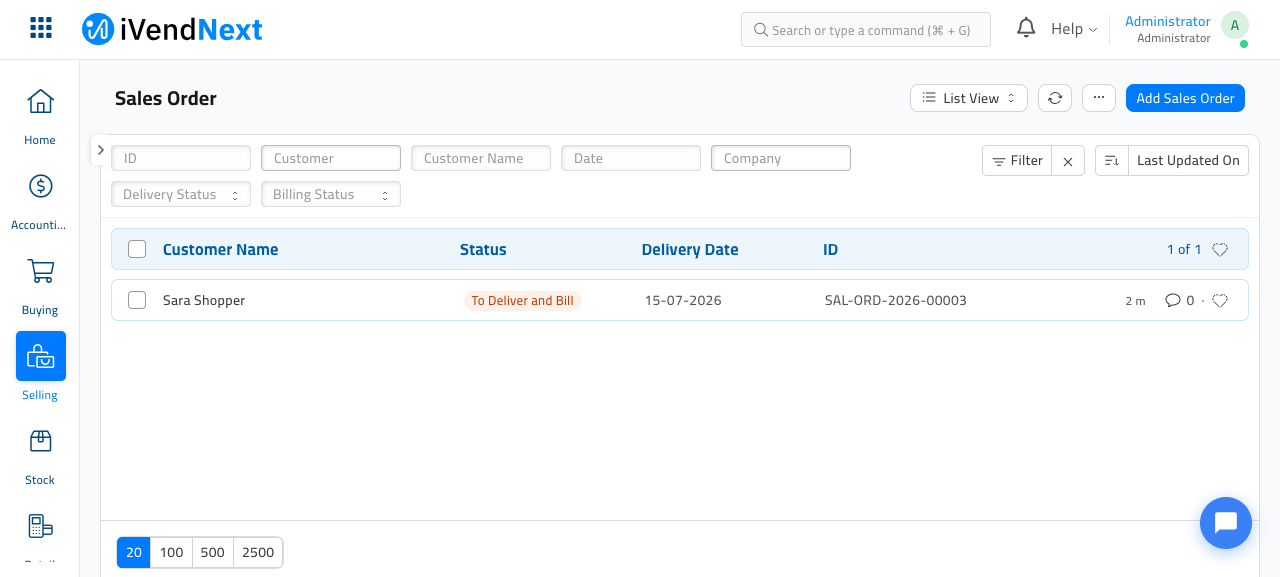
How you know it worked: a real order placed on your storefront appears here within moments of checkout. On a brand-new store this list is empty until your first sale — that's expected.
Two "statuses" on an order — don't mix them up. The status you see in this list (like To Deliver and Bill) is ERPNext's built-in accounting/delivery status. Separately, your storefront shows the customer a friendlier Ecommerce Status (Order Received, Shipped, Delivered…). The store advances that Ecommerce Status for you as you fulfill the order — see Step 3.
Step 2 · Open an order and read it
- Click any order in the list to open it.
- The Details tab shows you everything you need: who the customer is, the order and delivery dates, the Ecommerce Status, and how the customer paid.
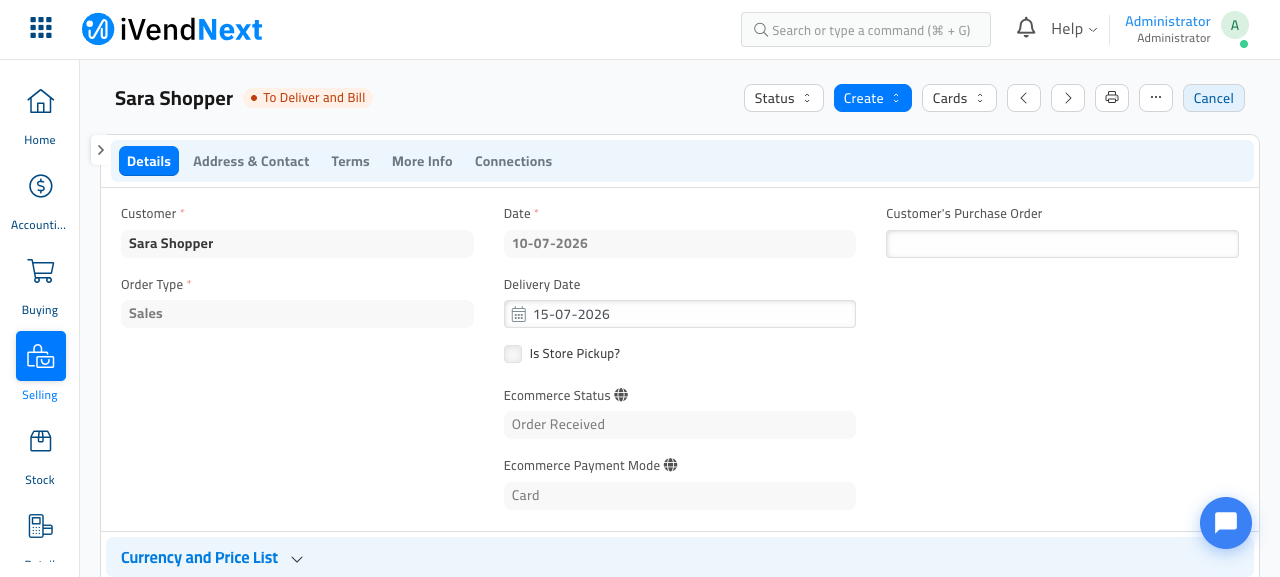
- Scroll down to see the items the customer bought, the quantities, and the totals (subtotal, shipping, tax and grand total). Switch to the Address & Contact tab to see where it ships.
How you know it worked: the order shows the right products, the right totals, and a delivery address. This is the single source of truth for that sale.
Step 3 · Move the order forward (fulfillment)
The customer watches one field: the Ecommerce Status. This field is read-only — you don't type into it. Instead, the store advances it for you as you fulfill the order with ERPNext's standard documents, and the customer sees each new status in their account.
The statuses, in the order they normally happen:
flowchart LR
    W[Waiting for<br/>Approval] --> O[Order<br/>Received] --> P[Preparing for<br/>Shipment] --> S[Shipped] --> D[Delivered]
    O -. customer/you .-> C[Cancelled]
    D -. return request .-> R[Returned]
| Ecommerce Status | What it means to the customer |
|---|---|
| Waiting for Approval | Order placed, not yet confirmed. |
| Order Received | You've accepted the order and will prepare it. |
| Preparing for Shipment | You're packing it. |
| Shipped | It's on its way (tracking appears once a Shipment exists — see below). |
| Delivered | The customer has it. |
| Cancelled | The order was cancelled (by you or the customer). |
| Returned | The customer sent it back. |
The Ecommerce Status field on the Sales Order is read-only (you'll see it greyed out). You never set it by hand — the store recalculates it from the fulfillment documents you create against the order:
- Submit the Sales Order → the status becomes Order Received.
- Create a Delivery Note against the order → the status becomes Preparing for Shipment.
- Create a Shipment for that Delivery Note → the status becomes Shipped.
- Mark the Delivery Note Completed (goods delivered) → the status becomes Delivered.
Tracking works the same automatic way: once a Shipment exists for the order, its carrier and tracking (AWB) details flow in through the store's tracking integration and unlock the Track Order button in the customer's account. There is no tracking-number field to fill in on the Sales Order yourself.
How you know it worked: after you create each fulfillment document, reopen the order — the read-only Ecommerce Status shows the new stage. The customer sees the same status (and, once a Shipment exists, a Track Order button) on their order in the storefront.
What the customer can do themselves. While an order is still Waiting for Approval or Order Received, the customer can cancel it from their account. Once you've delivered it, they can request a return (if you've allowed returns — Step 5). You don't need to enable these buttons; they appear automatically based on the order's status.
Step 4 · Where the customer sees all this
Your shoppers never see the admin. They follow their orders from My Account → Orders on the storefront (covered in 15 · The Customer Account Experience). It's worth glancing at this page yourself so you know what they see.
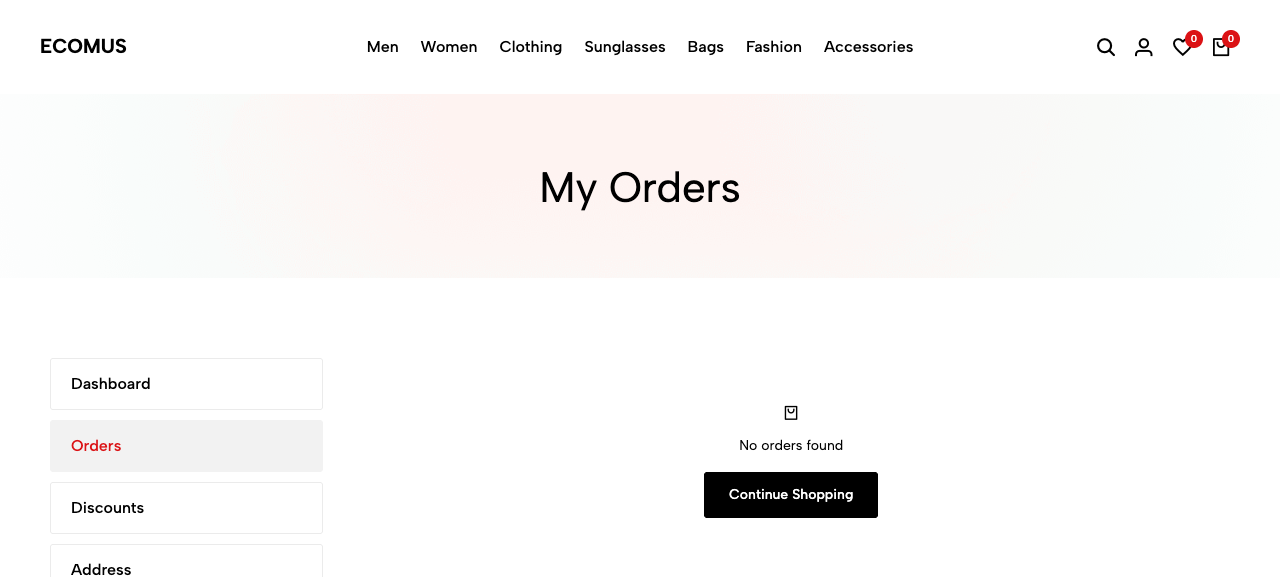
Once a shopper has bought something, each order is listed here with its status and total, and a View button that opens the full order — where they can Cancel, Track or Return it, depending on its status.
Step 5 · Set up returns
Before a customer can return anything, you tell the store your returns policy: whether you accept returns at all, for how many days, and what reasons a customer can pick from. This all lives on the Lifestyle Settings page.
- Open the search bar (Ctrl/Cmd + G), type Lifestyle Settings, and open it. Stay on the first tab (Details) and scroll down to the Shipping & Returns area.
- Tick Allow Return to accept returns at all.
- Set Return Period (Days) After Invoice Generated — for example
14. After this many days, the Return button no longer appears on a customer's order. - Choose a Return Policy Type:
- Global — the same return rules apply to every product.
- Per Item — return rules can vary product by product.
- In the Reason for Return table, click Add Row for each reason a customer can choose when sending something back. Give each a clear Display Name (shown to the customer) and an optional Description.
- Click Save.
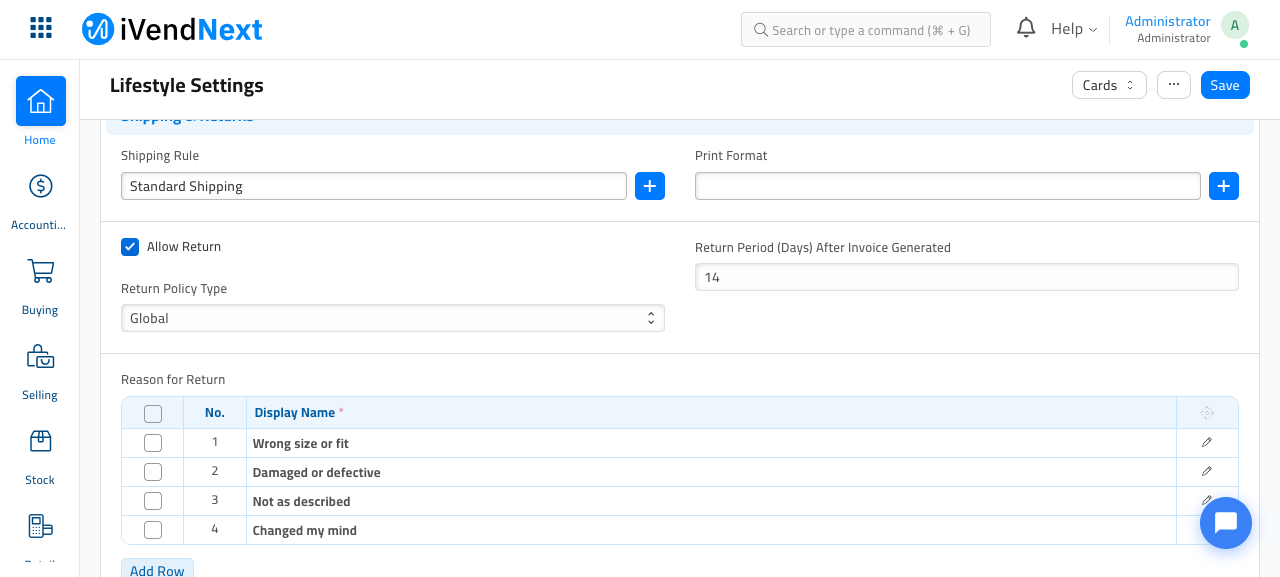
How you know it worked: after saving, a delivered order (within the return period) shows a Return button in the customer's account, and when they click it, they can pick from exactly the reasons you listed here.
Write your policy text
Customers also want to read your returns and shipping policies in plain words. You write those on the Policies tab of the same Lifestyle Settings page.
- Click the Policies tab.
- Fill in Shipping Policy and Return Policy in the text editors. Each has an English and an Arabic version — fill in both if your store serves both languages.
- Click Save.
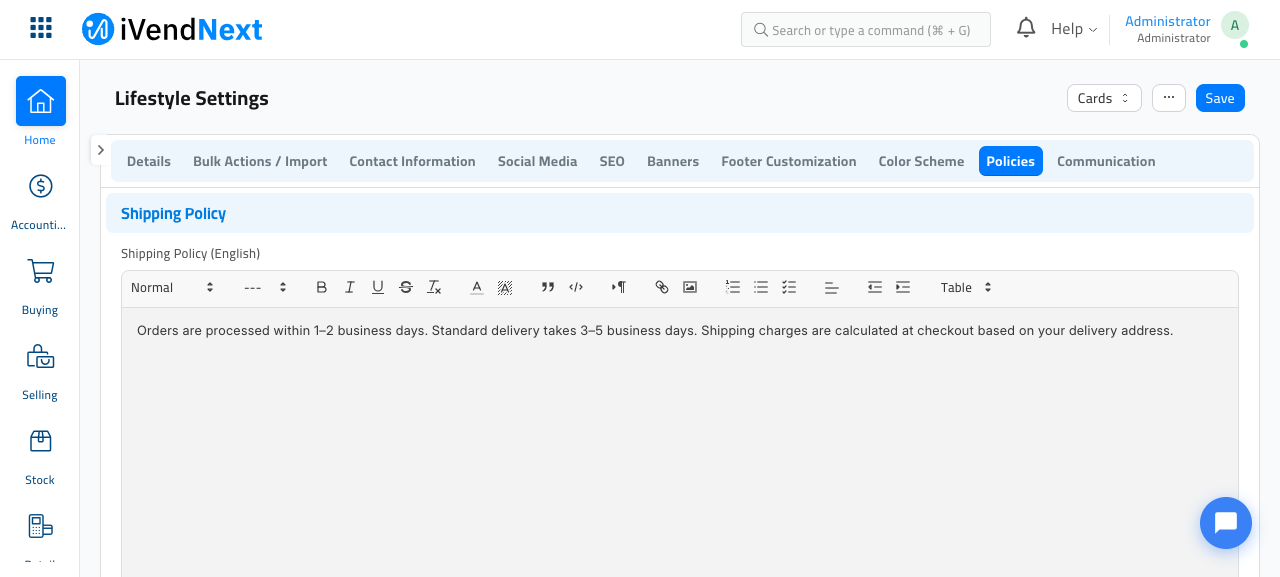
How you know it worked: this policy text is what appears on your storefront's Shipping and Returns pages (linked from your footer — see 06 · Footer, Navigation & Pages).
Step 6 · "Back in stock" alerts
When a product is sold out, a shopper can ask to be emailed when it returns. Your store handles this automatically — you just need to know it's happening and where to look.
Here's the whole flow:
flowchart LR
A[Product is<br/>out of stock] --> B[Shopper clicks<br/>Notify me]
B --> C[Store saves an<br/>OOS Notify Subscription]
D[You add stock<br/>(receive / adjust)] --> E[Store emails everyone<br/>waiting on that product]
C --> E
E --> F[Subscription marked<br/>Notified]
You don't create these subscriptions — shoppers do, by clicking the notify button on a sold-out product. To see who's waiting:
- Open the search bar (Ctrl/Cmd + G), type OOS Notify Subscription, and open it. Each row is one shopper waiting on one product.
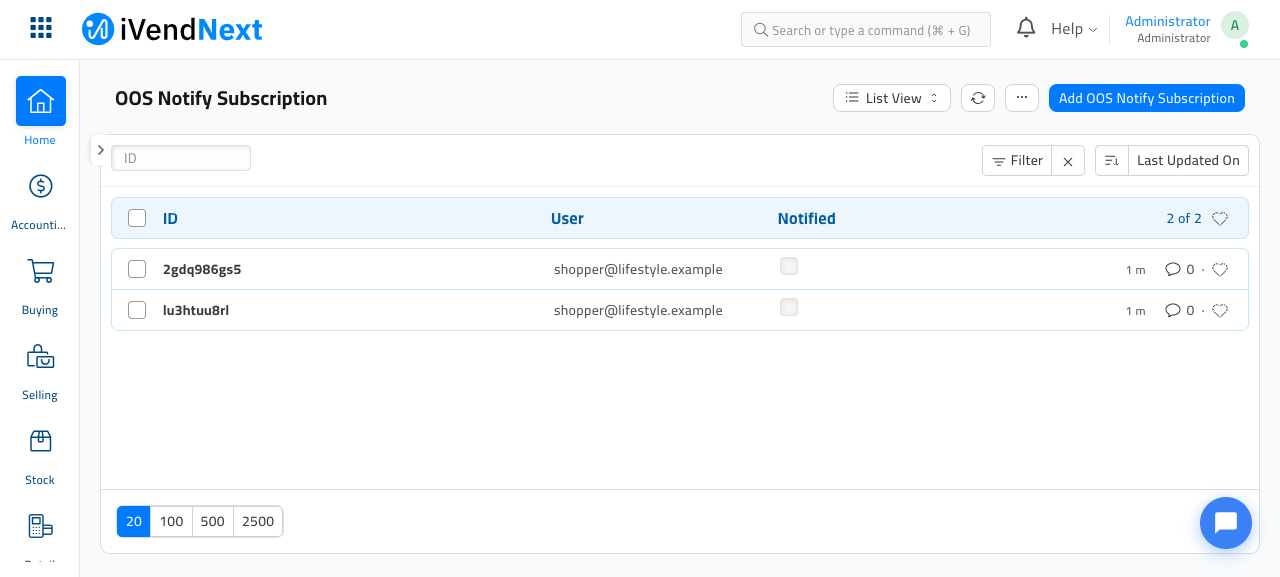
- Open a row to see exactly which Item the shopper wants and whether they've been Notified yet.
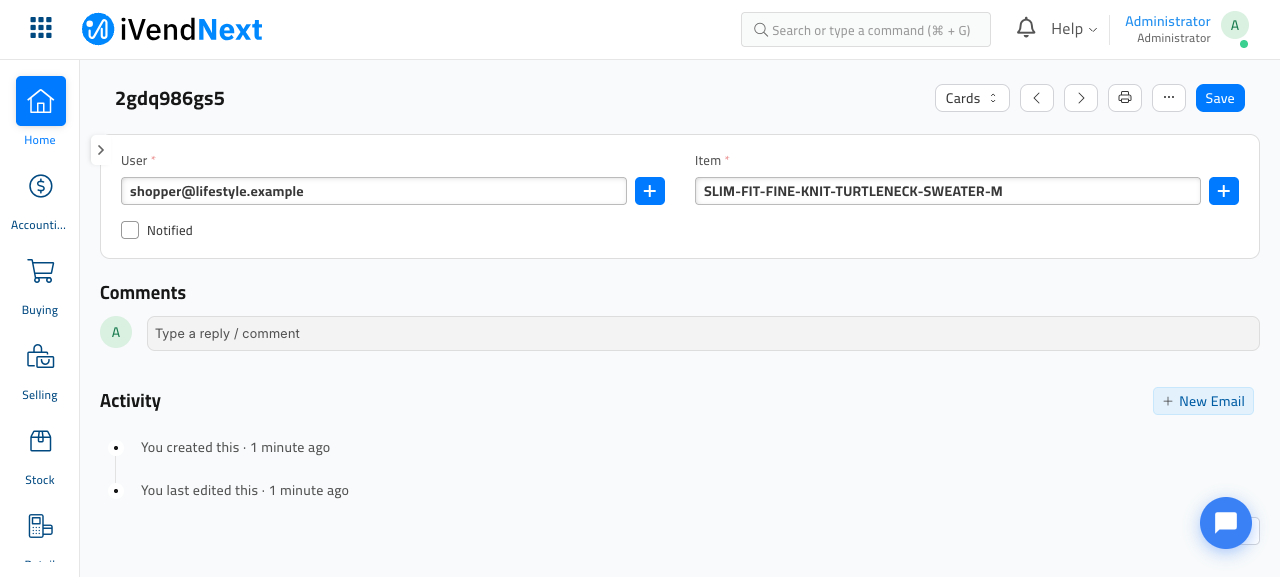
When you next receive that product into stock (or adjust its stock upward), the store automatically emails everyone waiting and ticks their Notified box — no action needed from you.
The email they receive uses a ready-made template called Item In Stock. You can open it (search Email Template, open Item In Stock) to reword the subject or message in your own brand voice.
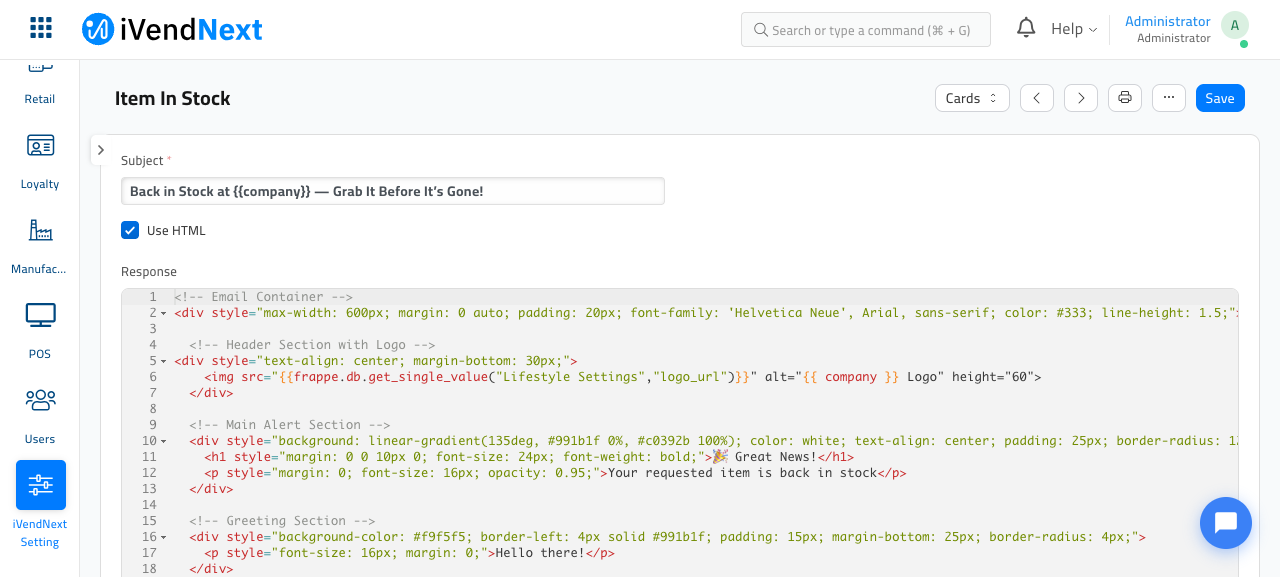
How you know it worked: after stock arrives, the waiting shoppers' subscriptions flip to Notified, and they receive the "Back in Stock" email.
Quick checklist
- You can find incoming orders under Sales Order and open one to read its items, totals and address.
- You understand that an order's Ecommerce Status advances automatically as you create its Delivery Note and Shipment, and that tracking appears once a Shipment exists (no manual tracking-number field).
- Allow Return is set the way you want, with a sensible Return Period and a list of Reason for Return entries.
- Your Shipping Policy and Return Policy text is written on the Policies tab.
- You know where to check OOS Notify Subscription and that the Item In Stock email goes out automatically when stock returns.
With orders, fulfillment and returns under your belt, you're ready for the final step: run your pre-launch checks and open for business in 17 · Preview & Go Live.