This is the finish line. Everything you built in the earlier sections — your theme, home page, catalog, prices, shipping and payments — comes together here. In this section you'll preview your storefront the way a shopper sees it, run a short go-live checklist to make sure nothing important is missing, and then open for business.
There's very little new to configure here. Think of this section as your pre-flight check before you announce your store to the world.
Before you start (prerequisites)
Going live only makes sense once the pieces underneath it are in place. This section depends on all of the earlier sections, but these are the ones that most directly decide whether your store is sellable:
- 04 · Choose & Activate Your Storefront Theme — a theme must be Active, or the storefront renders plain and unbranded.
- 08 · Add Your First Products — you need real, published products for shoppers to buy.
- 11 · Set Up Payments (iVend Gateways) — at least one payment method must be enabled so checkout can take money.
- 12 · Shipping, Taxes & Pricing — your price list and shipping rule must be wired up in Lifestyle Settings, or totals won't add up at checkout.
If any of those aren't done, finish them first, then come back here.
The go-live checklist, in order
Run through these checks in this order. Each one builds on the one before it — there's no point testing checkout before your products are live, or previewing the storefront before your theme is on.
flowchart TD
A["1 · A theme is Active<br/>(section 04)"] --> B["2 · Products are published<br/>(sections 08–10)"]
B --> C["3 · Prices & shipping wired<br/>(section 12)"]
C --> D["4 · A payment method enabled<br/>(section 11)"]
D --> E["5 · Preview the storefront<br/>at /en"]
E --> F["6 · Do one test purchase"]
F --> G["🎉 Open for business"]
Step 1 · Publish your products
Before shoppers can see a product, it has to be published to the website. As you added products in the earlier sections you set a publish flag on each one. To make sure everything eligible is live in one go, use the one-click Publish All Items to Website action.
-
Open Lifestyle Settings (press Ctrl/Cmd + G, type Lifestyle Settings, press Enter) and click the Bulk Actions / Import tab.
-
Scroll to the Demo Data & Testing section. You'll see the Publish All Items to Website button on the right.

-
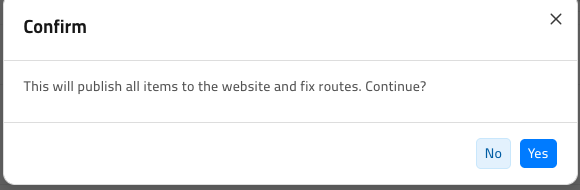
Click Publish All Items to Website. A confirmation window appears — this makes every eligible product visible on your storefront and fixes their web links.
-
Click Yes.
How you know it worked: you'll see a success message, and when you open your storefront (Step 3) your products appear in the listings. You can re-run this any time you've added a batch of new products.
Note: on this documentation site the Publish All Items to Website action currently returns a server error and could not be completed — see the note at the end of this section. Your individual products are still published by their own publish flag, so the storefront below still shows them.
Step 2 · Understand how a product reaches the shopper
If a product you expect to see isn't showing up on the storefront, it's almost always one of these links in the chain that's missing. Keep this picture in mind when you preview:
flowchart LR
P["Product<br/>(has a price)"] -->|"assigned to"| C["Category<br/>(Item Group / Ecommerce Category)"]
P -->|"publish flag on"| PUB["Published"]
C --> NAV["Storefront navigation<br/>& filters"]
PUB --> LIST["Product listing<br/>& product page"]
NAV --> SHOP["What the shopper sees at /en"]
LIST --> SHOP
A product only appears on the storefront when it is published and has a price, and it only shows up under the right menu when it's assigned to a category. If something's invisible, check those three things first (sections 07, 08 and 12).
Step 3 · Preview your storefront
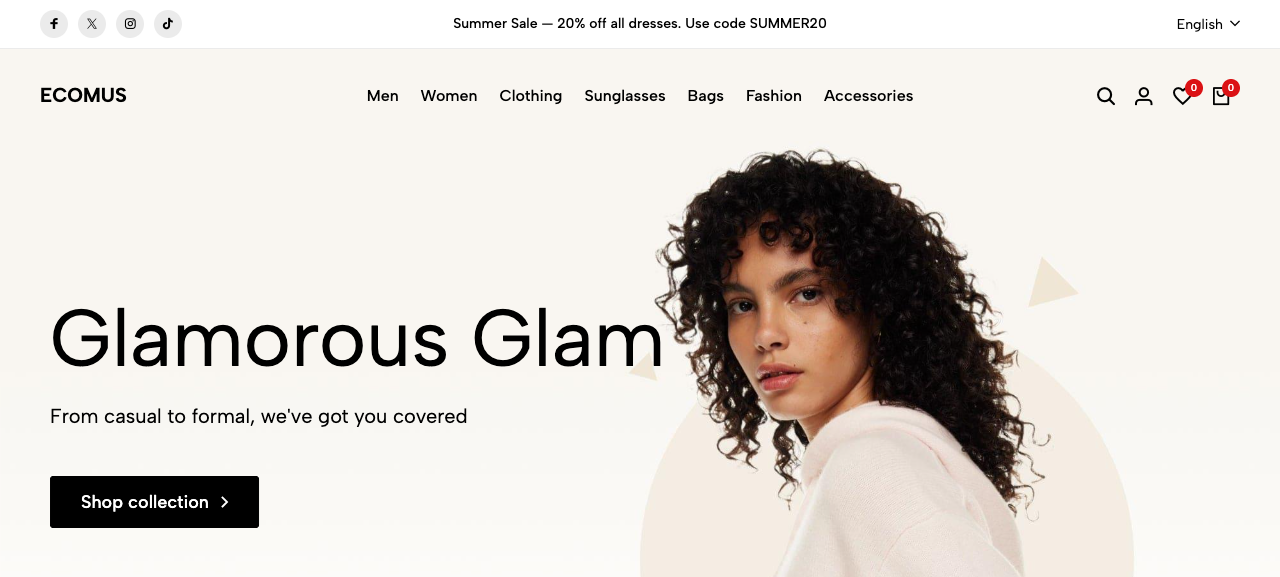
Now step into your shopper's shoes. Open your storefront home page at /en (for this store, http://ivend-docs.localhost:8000/en) in your browser.
You should see your active theme — branded header, your store name, navigation menu, the announcement bar and your hero banner — not a plain, unstyled page.
Scroll down and check the product sections. Each product card should show a real photo, its category and a real price — never "0.00" and never "None".
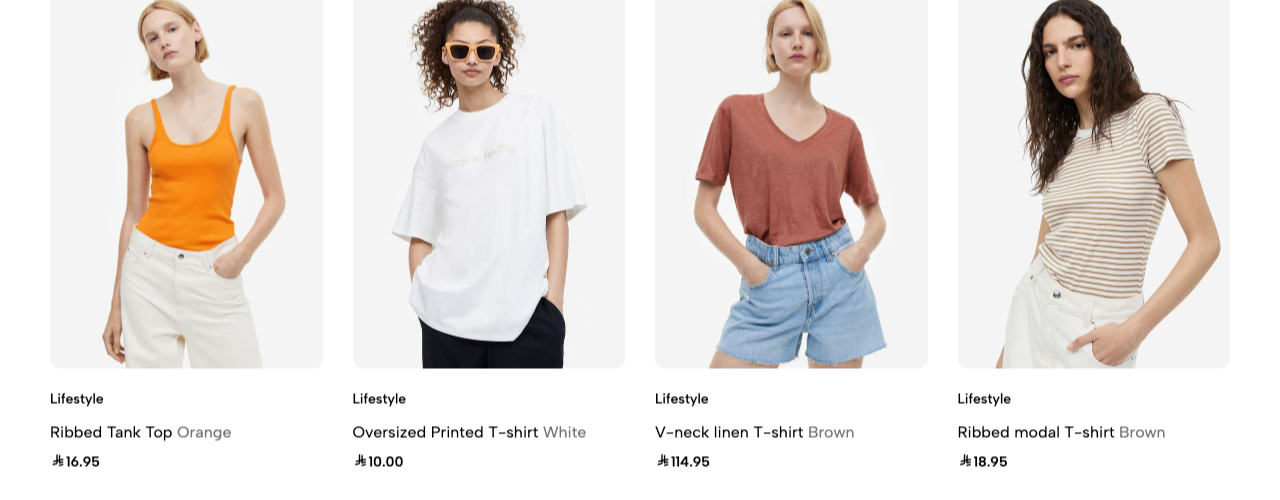
How you know it worked:
- The page is styled (your theme), not plain black-on-white text.
- Your store name and logo are in the header.
- Product cards show real prices and categories, not
0.00orNone. - The navigation menu links to your real categories.
If the page looks plain or prices show 0.00: first do a hard refresh (hold Shift and reload). If it's still wrong, a theme isn't active — go back to 04 · Choose & Activate Your Storefront Theme — or your products are missing prices — see 12 · Shipping, Taxes & Pricing.
Step 4 · Open a sample product page
Click any product to open its product page. This is where a shopper reads the details and adds the item to their cart, so it's worth checking one looks complete.
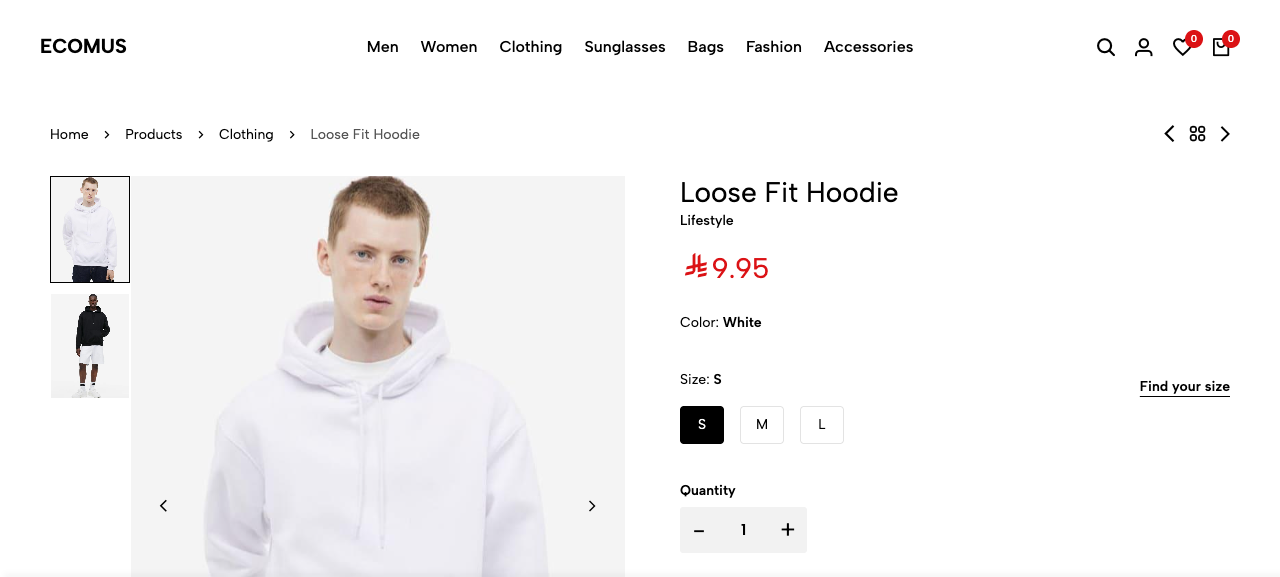
Check that: the product has images, the price is correct, the size/colour options work, and the description reads well. This is the page that turns a browser into a buyer.
Step 5 · Do one real test purchase
Reading the page isn't enough — place one real test order end to end so you catch anything the eye misses (a broken payment step, a missing shipping charge, a tax line that's off).
- On a product page, choose a size/colour if the product has them, then click Add to cart.
- Open the cart (the bag icon in the header, or
/en/cart) and confirm the item, quantity and price are right. - Go to checkout, enter a delivery address and confirm the shipping and tax lines look correct — this is exactly what you configured in 12 · Shipping, Taxes & Pricing.
- Confirm the payment step offers the method(s) you switched on in 11 · Set Up Payments (iVend Gateways), and complete the payment.
- Check the order lands in the admin as a Sales Order you can process. Your administrator can open it from the ERPNext desk (Ctrl/Cmd + G, type Sales Order) to confirm it arrived with the right items, address and totals.
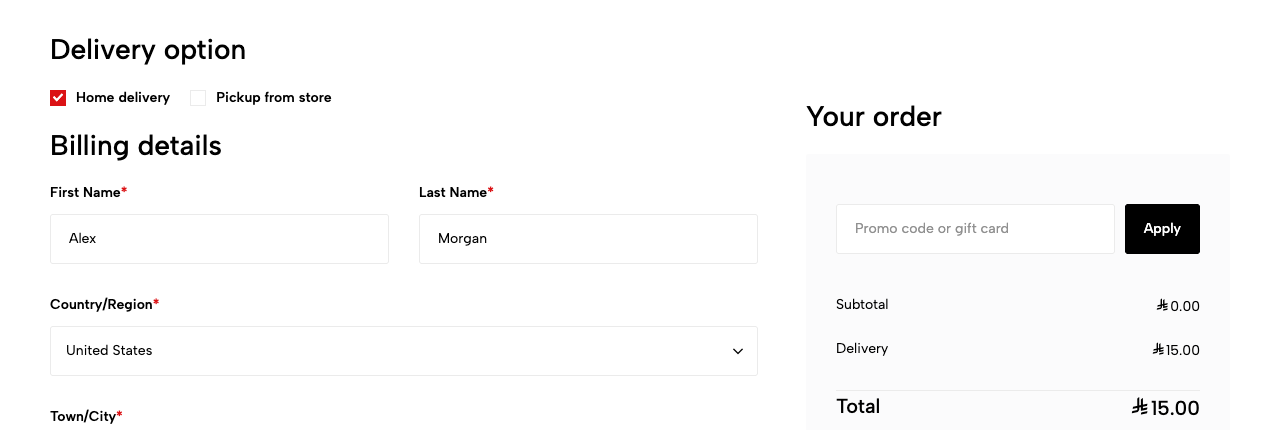
The checkout page is where all of this comes together — a delivery option, the shopper's billing details, and an order summary with the subtotal, delivery charge and total. This is your last chance to confirm the numbers look right before payment.
How you know it worked: you reach an order-confirmation screen, and the new order shows up on the admin side ready to fulfil. The buyer's own copy appears under their account in 15 · The Customer Account Experience.
Tip: use a real card in a payment provider's test/sandbox mode if you have one, so you can complete the full flow without charging yourself. Your administrator sets sandbox mode up with your payment gateway.
Step 6 · You're open for business
Once your preview looks right and a test order goes through cleanly, your store is live. Anyone with the address can now browse and buy.
Final housekeeping before you announce it:
- Remove any demo/sample products you don't actually sell (if you used Install Demo Data while exploring — see 10 · Bulk Product & Image Tools).
- Set your real contact details and policies so shoppers trust you — 06 · Footer, Navigation & Store Info Pages.
- Double-check your SEO titles and share images so your store looks good in search and when links are shared — 14 · SEO & Social Sharing.
Congratulations — your storefront is open. 🎉
Quick checklist
- A theme is Active (section 04).
- Products are published — run Publish All Items to Website.
- Prices and shipping are wired in Lifestyle Settings (section 12).
- At least one payment method is enabled (section 11).
- The storefront at
/enshows your theme, real prices and real categories. - A sample product page looks complete (images, price, options).
- One test purchase completes end to end and the order reaches the admin.
Ask your administrator (technical note): The Publish All Items to Website button on this documentation site currently returns a server error (its underlying code refers to a module,
publish_demo_items, that isn't present in this build). If your Publish All Items to Website action fails the same way, your administrator can still publish products individually via each product's publish flag, and should raise the missing-module error with the development team. The rest of the go-live flow above is unaffected.